How to build a wire fence
14.10.2016
Your estate can be even more beatiful if you encircle it with a nice and quality fence, which is also functional. And how nice feeling it is when you look at that fence, knowing that you built it yourself... It's pretty simple to do so, just follow the instructions and there will be no problems!
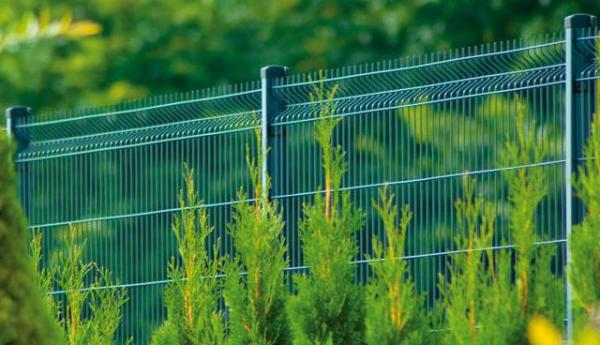
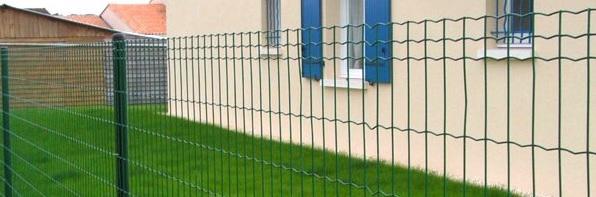
First, let us introduce you with fences. There are two kinds of fences: punctured (for terrain with low oscillations and configuration differences) and knitted (which can tolerate oscillations and terrain differences). They are usually 25 m long, and their height varies between 1 and 1,70 m.
Pillars are the spine of every fence. You can place them in two ways:
- to fixate them on the socle
- to place them directly into the ground and fixate them using concrete
In the first case pillars don't have to be much taller than the fence, maybe a few centimeters. When they are placed directly into the ground, the difference has to be at least 50 cm.
 Place the pillars with 2 to 2,50 m space between them. Then, we fixate the wire on the bottom, the middle and the top of the pillar.
To tighten the wire to the pillar we use a tightener. The wire is place on one end of the tightener, tightened to the pillar and it stays fixated like that. We put that same wire through the other side of the tightener, right to its central part, right to the axle which has a hole to which we tie the wire. We spin the axle using a wrench, thus tightening the wire.
When we're done tightening the wire, we attach the netting on it. For that we use the wire sized 1,3 mm or 1,6 mm.
You should be careful not to damage the plastic layer protecting the metal from various factors which can deform the fence and make you repair it.
You can check the wide range of fences and gates, as well as other related products, right here.
To make it all even clearer, take a look at the video we made for you:
If you would like to stay up to date, please sign up for our mailing list here.
